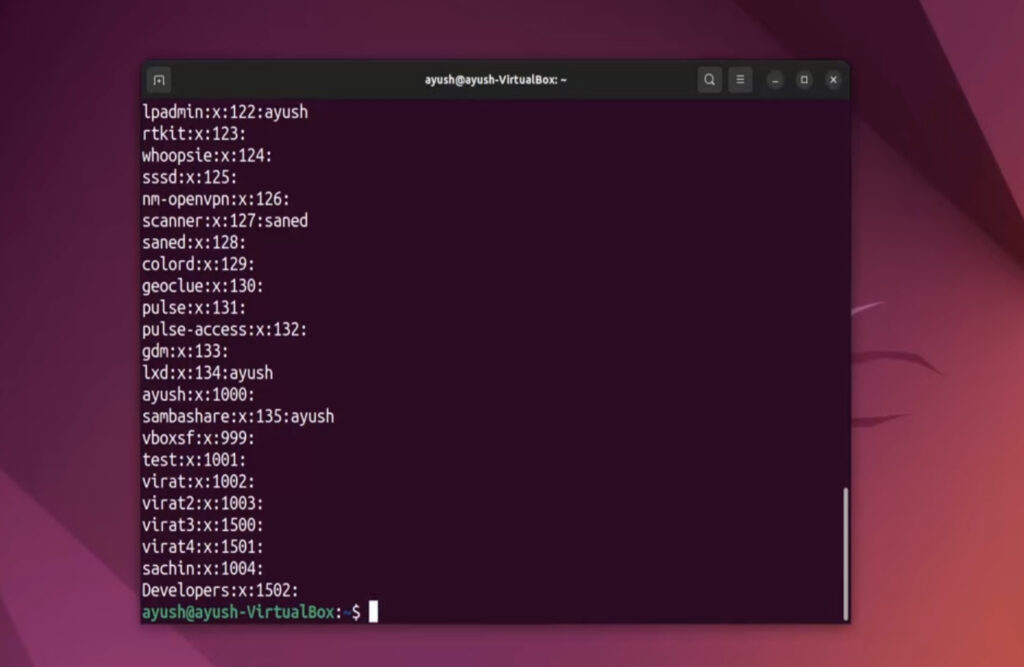
In the world of Linux, creating a group via the command line interface (CLI) may seem daunting to those unfamiliar with the process. However, once the steps are mastered, it becomes a simple task. This comprehensive guide will walk you through the process of group creation in the Linux CLI. Additionally, it will delve into the concept of Linux groups and explain how to manage group members and permissions effectively.
Understanding Linux Groups
Before embarking on the journey of group creation, it’s essential to grasp the concept of groups in the Linux environment. Linux groups are gatherings of users who share similar access rights and permissions to various resources within the system. For instance, if you have a set of users requiring access to a specific system folder, you can establish a group and assign those users to it. This facilitates easy management of permissions, ensuring that only the designated users can access the folder.
Creating a Group in Linux CLI
To initiate the creation of a group using the Linux CLI, the ‘groupadd’ command is your tool of choice. The fundamental syntax for the ‘groupadd’ command is as follows:
“`bash
groupadd [options] groupname
“`
Where ‘groupname’ represents the desired name for your group. Below are illustrative examples of utilizing the ‘groupadd’ command:
Creating a Group with a Specific GID
In this example, a group named “marketing” with a unique Group ID (GID) of 1000 is established. GID serves as a numerical identifier for each group on a Linux system.
“`bash
groupadd -g 1000 marketing
“`
Creating a Group with a Description
This example creates a group named “sales” and provides it with a descriptive label, “Sales Team.”
“`bash
groupadd -c “Sales Team” sales
“`
Creating a Group with a System User
In this scenario, a group called “admin” is created, designated as a system user. System users are designed for specific system tasks and are not meant for typical login purposes.
“`bash
groupadd -r admin
“`
Managing Group Members
Once the group is established, the next step is adding users to it. The ‘usermod’ command accomplishes this task. The basic syntax for the ‘usermod’ command is:
“`bash
usermod -a -G groupname username
“`
Where ‘groupname’ is the name of the group you want to add the user to, and ‘username’ is the user’s name. Here’s an example of its use:
Adding a User to a Group
Here, we add the user “jane” to the “marketing” group.
“`bash
usermod -a -G marketing jane
“`
Removing a User from a Group
In this instance, we remove the user “john” from the “sales” group.
“`bash
gpasswd -d john sales
“`
Managing Group Permissions
After group creation and member addition, it becomes crucial to configure group permissions. The ‘chmod’ command is the key to this task. Its basic syntax is:
“`bash
chmod [permissions] [path]
“`
Where ‘permissions’ represent the desired permissions for the group, and ‘path’ denotes the location of the file or folder to which permissions should be applied. Here are examples illustrating ‘chmod’ usage:
Setting Permissions for a Folder
This example establishes permissions for the “marketing_files” folder, granting the “marketing” group read and execute privileges.
“`bash
chmod 750 /marketing_files
“`
Setting Permissions for a File
In this case, permissions for the “sales_report.txt” file are configured, allowing both the owner (user) and the “sales” group to read and write.
“`bash
chmod 660 /sales_report.txt
“`
Conclusion
In summary, this comprehensive guide has shed light on the intricacies of managing groups within the Linux Command Line Interface (CLI). Although the initial foray into group creation may seem daunting, understanding the fundamental commands and concepts empowers users to efficiently organize users, assign permissions, and enhance the security and accessibility of their Linux systems.
- Groups in Linux play a pivotal role in streamlining user management and permissions. They enable administrators to group users with similar access requirements, simplifying the allocation of privileges to resources. Whether it’s granting a team access to a shared directory or configuring specific permissions for a group of users, the group management process facilitates control and security;
- The ‘groupadd’ command serves as the foundation for creating groups, while ‘usermod’ allows for the seamless addition or removal of members. Furthermore, ‘chmod’ empowers administrators to define precisely who can access and modify specific files and directories.
By following the step-by-step instructions and real-world examples provided in this guide, users can confidently navigate the Linux CLI to create and manage groups, tailor permissions to their precise needs, and ultimately enhance the efficiency and security of their Linux systems. Embracing these skills ensures that you have the necessary tools to effectively organize and secure your Linux environment.
